📍We’ve moved to Bellevue! See our updated address below.
Building a subfloor for Judo/BJJ mats
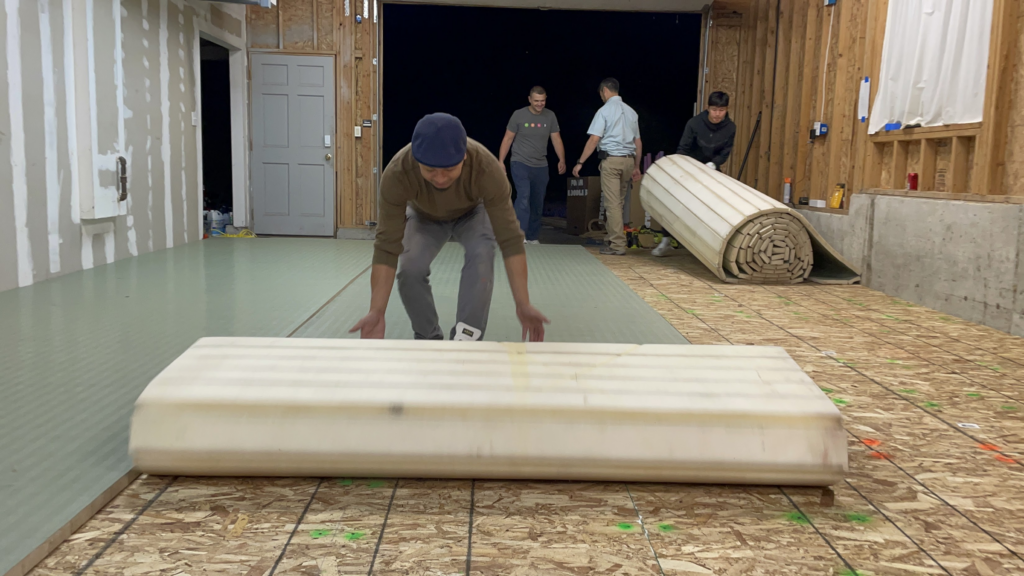
In the fall of 2022, we found ourselves in need of a space to quickly establish a new dojo. Fortunately, one of the coaches had a large, unfinished workshop next to their house that he offered us to use temporarily. We got lucky again when a kind-hearted sensei from a local dojo generously donated three rolls of Dollomur mats measuring 6 by 40 feet to aid in our efforts. Now we had to determine the best way to lay these mats on the concrete floor.
We had to decide between the following options for laying our mats:
- rolling them directly over the concrete
- using car tires to support a subfloor on which we would roll the mats
- or using foam blocks to support the subfloor
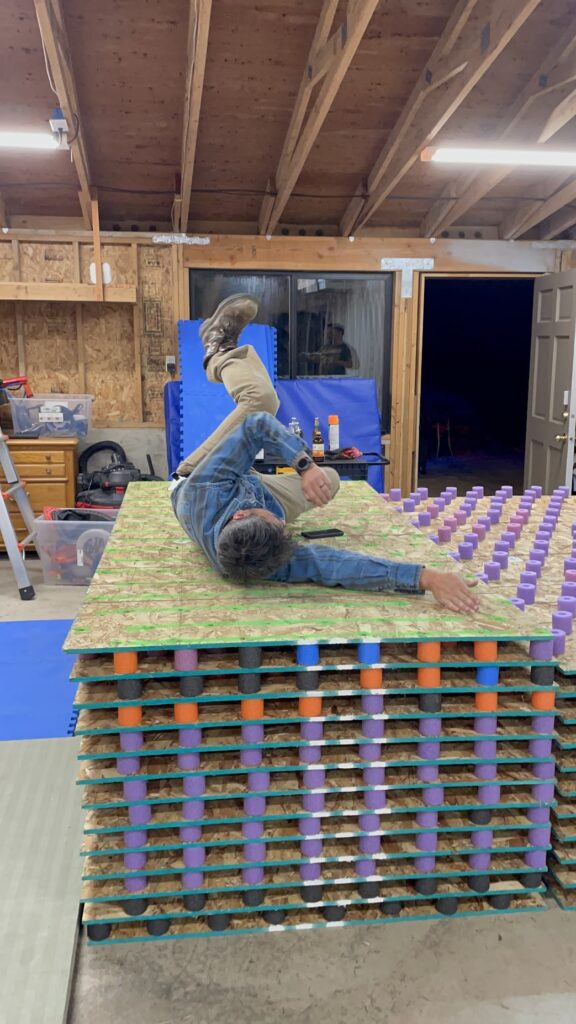
After considering these options, we ultimately decided to go with the foam blocks. This was because nobody wanted to take repeated falls during a class on mats placed directly on the concrete, and we didn’t know where to find so many car tires in a timely manner. Besides, our past experience showed that achieving a consistent surface with a subfloor resting on car tires was more challenging.
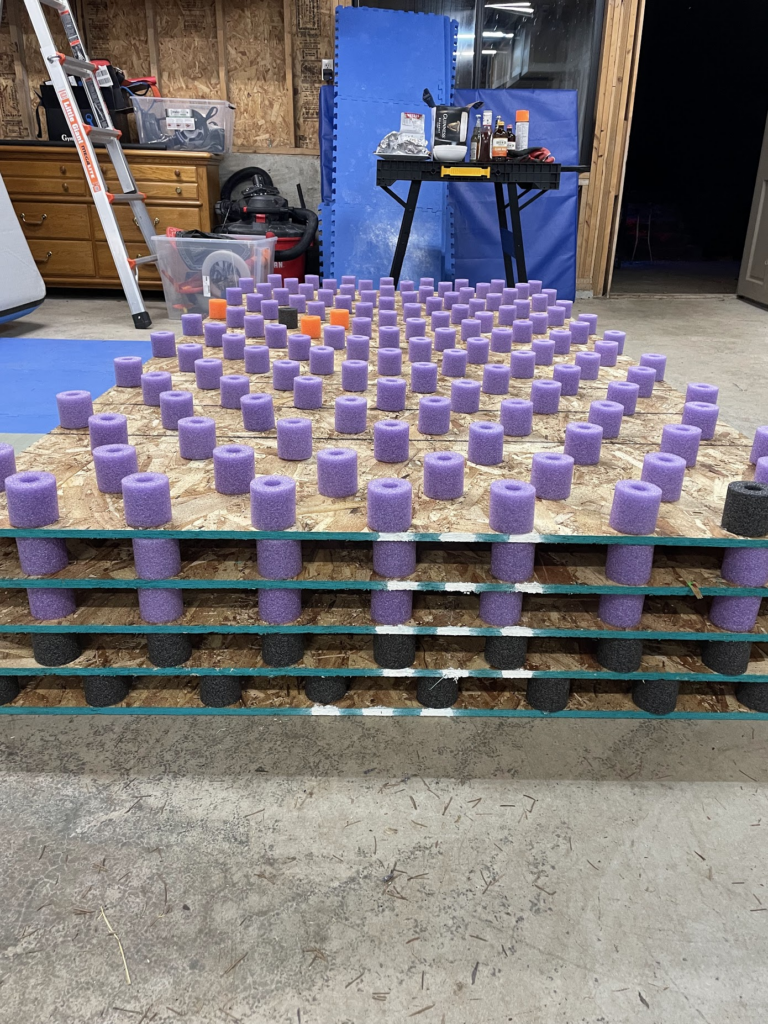
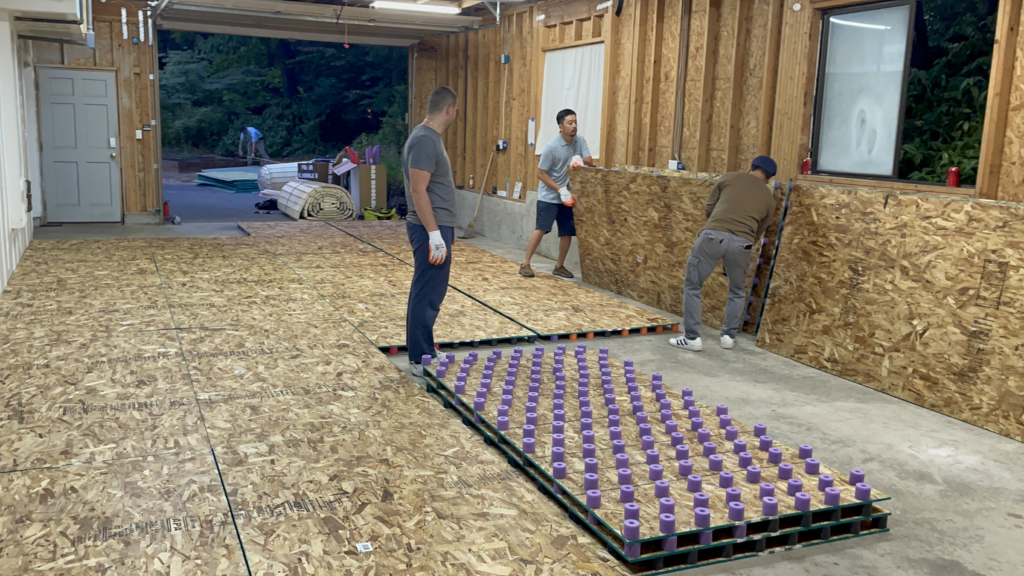
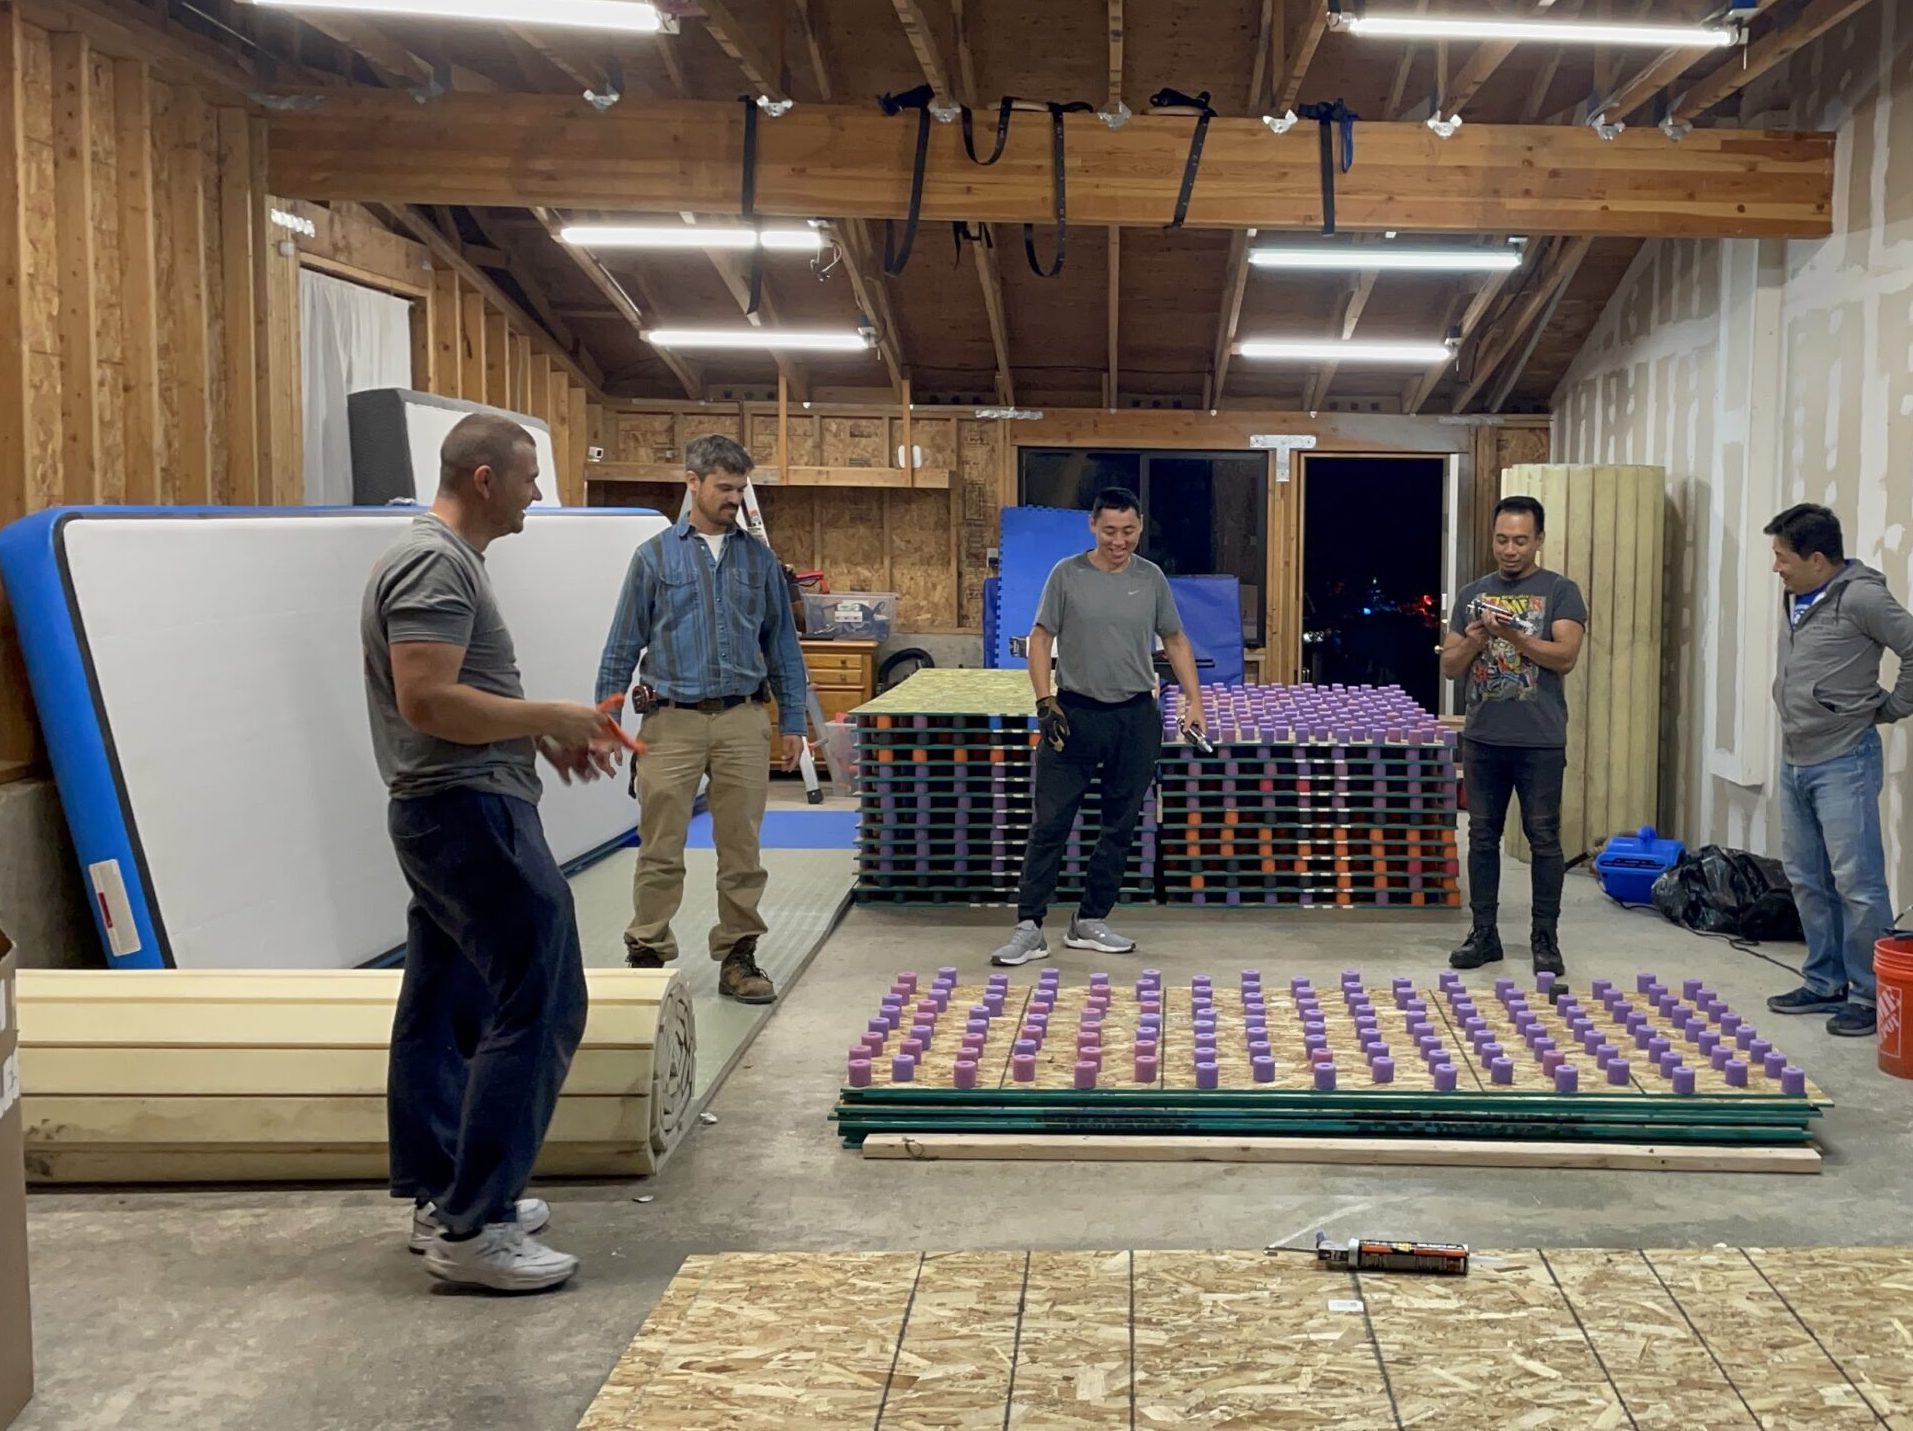
The goal was to create a springy surface for the mats by placing wooden boards on top of foam blocks, covering the seams with another layer of overlapping boards, and then laying the mats on top. We initially planned to find a foam product supplier or manufacturer to provide the foam blocks, but one of the dads in our group had a creative idea to use pool noodles from the Dollar Store instead. A quick test confirmed that this would be a good solution.
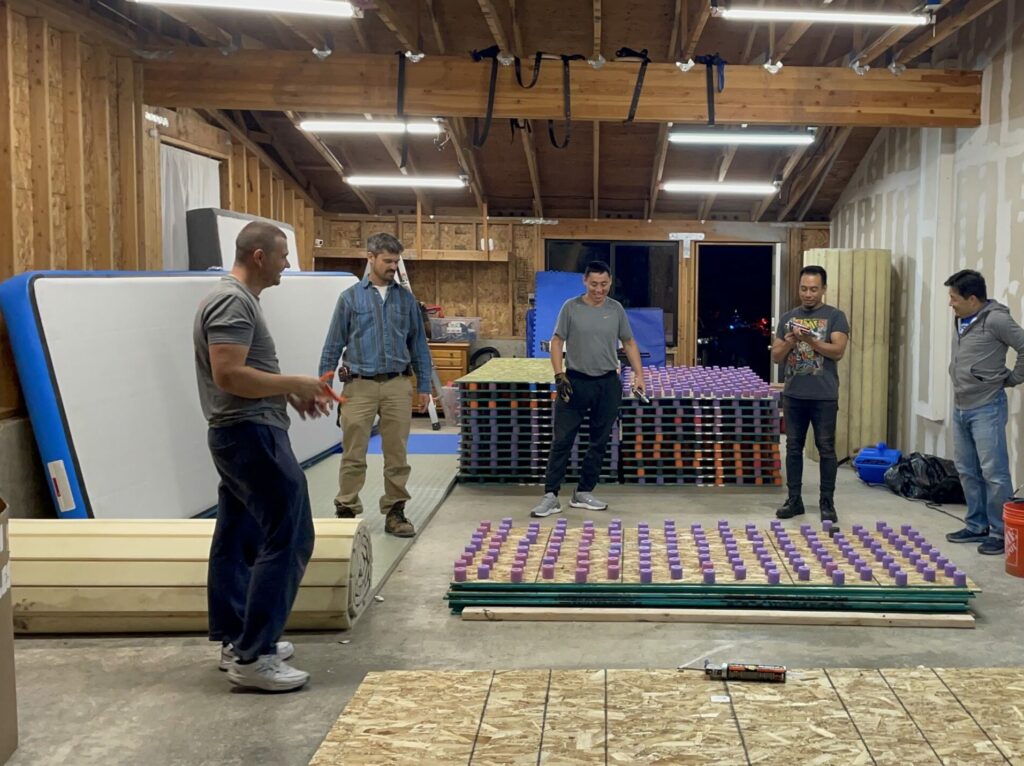
Two guys with construction experience from our group took a lead in the construction of the subfloor. The shopping list for the materials included:
- Pool noodles from a Dollar Tree store (link)
- Quantity: ~ 150
- Total price: ~ $200
- 2 in. x 4 in. x 8 ft. Prime Whitewood Studs (link)
- Quantity: 20
- Total price: $79.6
- 4 ft. x 8 ft. OSB Sheathing Panels (link)
- Quantity: 50
- Total price: $705.00
- 2 in. x 4 ft. x 8 ft. R-7.7 Rigid Foam Insulation for wall padding (link)
- Quantity: 10
- Total price: $359.50
- Loctite Power Grab All Purpose Construction Adhesive (link)
- Caulk Guns for the crew (link)
- 6 x 1-1/4 in. Philips Drywall screws (link)
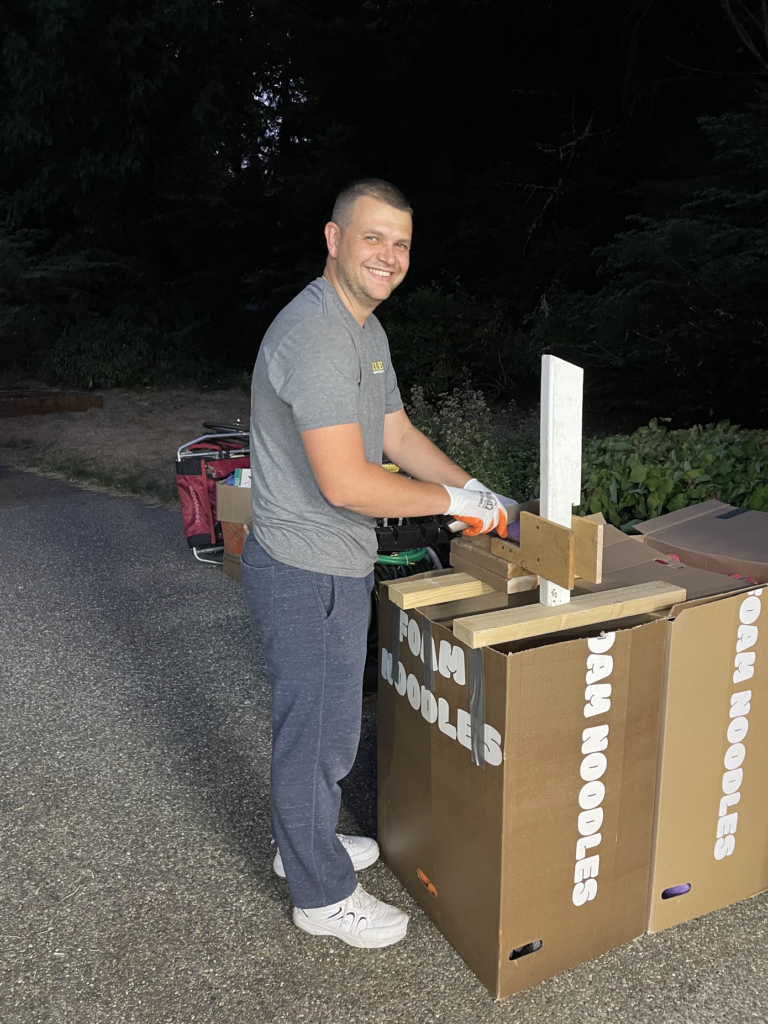
On the first day, we cut the pool noodles into small, equal-sized pieces and attached them to OSB boards using glue. On the second day, we placed the boards on the floor and covered the seams with another layer of overlapping OSB boards. We designated one of the OSB boards as a template with pre-drilled holes to mark the positions for the pool noodles on the board underneath. We also used foam insulation panels to pad the walls.